BST Solo Leveling Guide: Difference between revisions
No edit summary |
No edit summary |
||
| Line 46: | Line 46: | ||
| | | | ||
* Map 2 leading to E.Altepa exit | * Map 2 leading to E.Altepa exit | ||
* | * When the worms start turning Too Weak, you can move camp to the Sea Monk (L32-35, charmable) room and do Fish/Manta vs. Seeker Bats. | ||
|- | |- | ||
| 42+ | | 42+ | ||
| Line 54: | Line 54: | ||
| {{Location|The Sanctuary of Zi'Tah|J-10}} | | {{Location|The Sanctuary of Zi'Tah|J-10}} | ||
| helms, gil | | helms, gil | ||
| | | A bit roamy, may want to start pulling next target while your pet finishes off current. | ||
|- | |- | ||
| 42+ | | 42+ | ||
| Line 62: | Line 62: | ||
| {{Location|The Sanctuary of Zi'Tah|H-8}} | | {{Location|The Sanctuary of Zi'Tah|H-8}} | ||
| not much other than seals, but... | | not much other than seals, but... | ||
| | | Though this list is mainly focused on decent money camps, an exception can be made for this XP-focused camp. Can do just gobbie pets, or have your pet fight bats/robbers while you solo pets. Either way, you can be lazy here and still hit 6K+/hr here without Dedication effect. | ||
|- | |- | ||
| 45+ | | 45+ | ||
| Line 71: | Line 71: | ||
| Not much other than seals, but again... | | Not much other than seals, but again... | ||
| | | | ||
* | * Another 3-pet camp, more aggro than Zi'Tah previously, but 6K+/hr possible w/o ring. | ||
* often already occupied | * often already occupied | ||
|- | |- | ||
| Line 80: | Line 80: | ||
| {{Location|Misareaux Coast|I-6}} | | {{Location|Misareaux Coast|I-6}} | ||
| used Gigas clothing, bugardry | | used Gigas clothing, bugardry | ||
| | | Snack on the Gigas's Leech while your pet is taking out other stuff. | ||
|- | |- | ||
| 50+ | | 50+ | ||
| Line 89: | Line 89: | ||
| eggs, vendor fodder | | eggs, vendor fodder | ||
| | | | ||
* | * Not an extreme EP camp and the xp is bleh, but the drops can be pinata-like and worth it depending how much eggs are going for. | ||
* | * Some or perhaps all of these are Horizon custom mobs. | ||
|- | |- | ||
| 55+ | | 55+ | ||
| Line 108: | Line 108: | ||
| | | | ||
* custom HorizonXI mob | * custom HorizonXI mob | ||
* | * Bring hatchets, there's one logging point nearby | ||
* | * You may run out of mobs, in which case work in 1 or 2 Flytraps further north. | ||
* | * Also a couple beehive chip spawns to the east that are sometimes EP. | ||
|- | |- | ||
| 60+ | | 60+ | ||
| Line 143: | Line 143: | ||
| skins, ingots, armor pieces | | skins, ingots, armor pieces | ||
| | | | ||
* Peg Powler, Narasimha, Mysticmaker drop nice gil if you can pop/catch them | * Peg Powler, Narasimha, Mysticmaker drop nice gil if you can pop/catch them. | ||
* Treasure Chests are conveniently close compared to other zones | * Treasure Chests are conveniently close compared to other zones. | ||
* Torama vs. Torama can be worthwhile as well, depending on the price of skins | * Torama vs. Torama can be worthwhile as well, depending on the price of skins. | ||
* | * At 71, gobs and mantas no longer aggro you despite yielding XP. | ||
|- | |- | ||
| 71+ | | 71+ | ||
| Line 156: | Line 156: | ||
| | | | ||
* west side | * west side | ||
* | * Supports 1 person only - the first scorp tends to repop by the time you've killed the last scorp. | ||
|- | |- | ||
| 71+ | | 71+ | ||
| Line 166: | Line 166: | ||
| | | | ||
* Map 7 H-11 | * Map 7 H-11 | ||
* | * Level gap isn't as great as prior camps, but suicide bombs often make up for that, and Damp Hakutaku Eyes can go for 5 figures. | ||
* Bomb Queen trigger items too, but those move really slow in bazaar | * Bomb Queen trigger items too, but those move really slow in bazaar. | ||
|- | |- | ||
| LV | | LV | ||
Revision as of 05:50, 11 February 2026
(Work In Progress - yes, the header says BST. I meant this for /BST, but the / messes up the URL)
Solo /BST Camps aka No Jugs, No Problem
With the current state of Horizon, soloing on BST gravitates towards ①Call Beast and ②slaughter Easy Preys of your choice. If you're reading this, you probably know why:
- HorizonXI's Jug Pets are buffed vs. Classic FFXI
- The [XP curve] grants a lot more points for a wider range of EPs than it used to
With that in mind, what do you do if you don't have access to Jug Pets? Well here are some suggestions for aspiring /BST. This list will primarily focus on T/EM/DC vs. EP camps that I've done and can recommend on BST and /BST. It is by no means a be-all and end-all guide. YMMV.
※Max LVL Gap = Max LVL of Pet - Min LVL of Prey. As long as the prey still yields XP, the higher the better.
| LVL | Pet | Max LVL Gap | Prey | Location | Notable Drops | Notes |
|---|---|---|---|---|---|---|
| 14+ | Dhalmels, Wasps, Grubs | 13 | Bees, Saplings, Yagudo, Goblins | Tahrongi Canyon | honey, beehive chips, seeds |
|
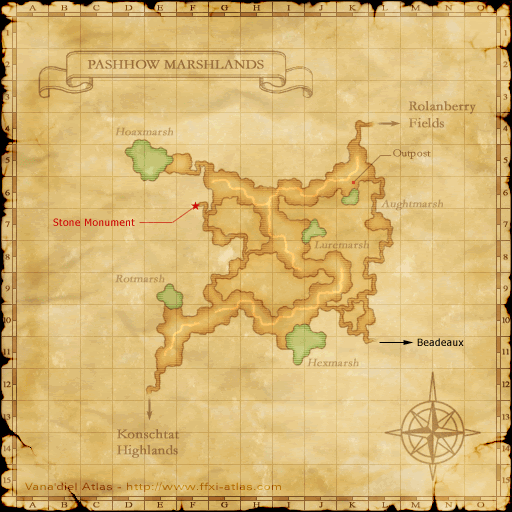
| 23+ | Funguars | 10 | everything else | Pashhow Marshlands (G-7 / G-8) | honey, beehive chips, gil | |
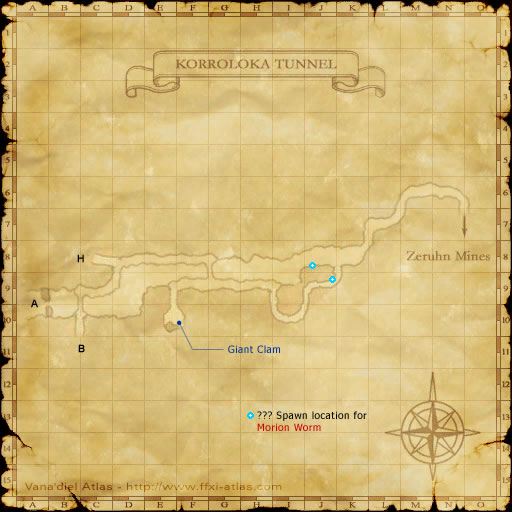
| 28+ | Big Bats, Leeches etc. | 11 | Worms, Bats | Korroloka Tunnel (E-9) | zinc ore? meh |
|
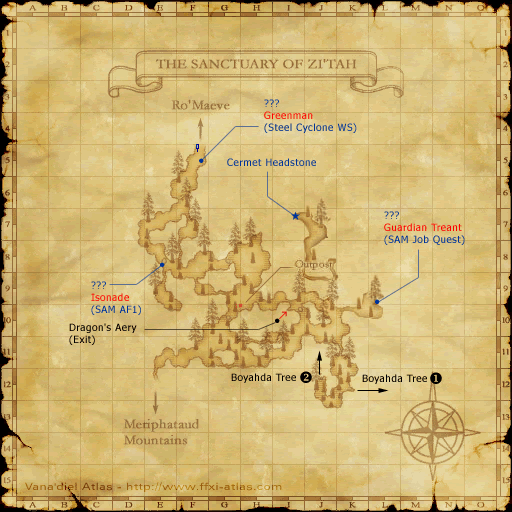
| 42+ | Leeches, Funguar | 15 | Smithies, Furriers | The Sanctuary of Zi'Tah (J-10) | helms, gil | A bit roamy, may want to start pulling next target while your pet finishes off current. |
| 42+ | Leeches, Flies | 6(P) | Goblin Pets +α | The Sanctuary of Zi'Tah (H-8) | not much other than seals, but... | Though this list is mainly focused on decent money camps, an exception can be made for this XP-focused camp. Can do just gobbie pets, or have your pet fight bats/robbers while you solo pets. Either way, you can be lazy here and still hit 6K+/hr here without Dedication effect. |
| 45+ | Torama, Fish | 12(P) | Gob Pets | La Theine Plateau (I-7) | Not much other than seals, but again... |
|
| 46+ | Crabs, Fish | 15(P) | Beastmen, Bugards, 1 pet | Misareaux Coast (I-6) | used Gigas clothing, bugardry | Snack on the Gigas's Leech while your pet is taking out other stuff. |
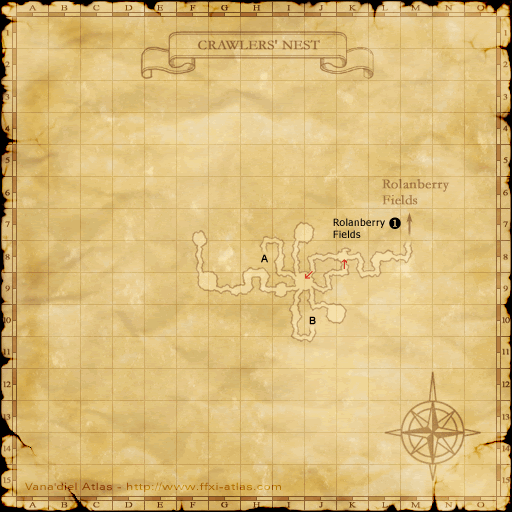
| 50+ | Saplings, Lizards, Rumblers | 6 | Labyrinth Lizards | Crawlers' Nest | eggs, vendor fodder |
|
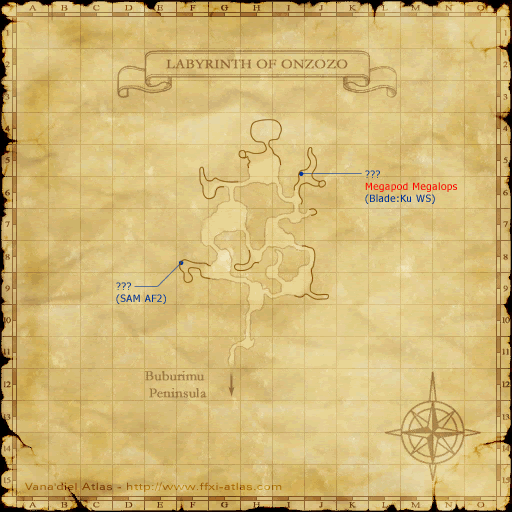
| 55+ | Scorps | 12 | Cockatrice, Goblins, Leeches, EP Scorps | Labyrinth of Onzozo | cockatrice stuff, gil, blood, shells, claws | |
| 55+ | Migrant Dobsonfly | 17 | Beastmen, bugards, 1 cluster | Misareaux Coast (G-7) | gil and stuff |
|
| 60+ | Helm Beetles | 15 | everything in the ring, except Frank | Crawlers' Nest | jaws, silk, shrooms | Rumblers can work as pets too, but almost no level diff. Might as well go to a diff camp at that point. |
| 63+ | Scorch Dhalmels | 16 | Anticans, Beetles, Scorps | Western Altepa Desert (D-11) | jaws, claws, shells, Antican used clothing | custom HorizonXI mob |
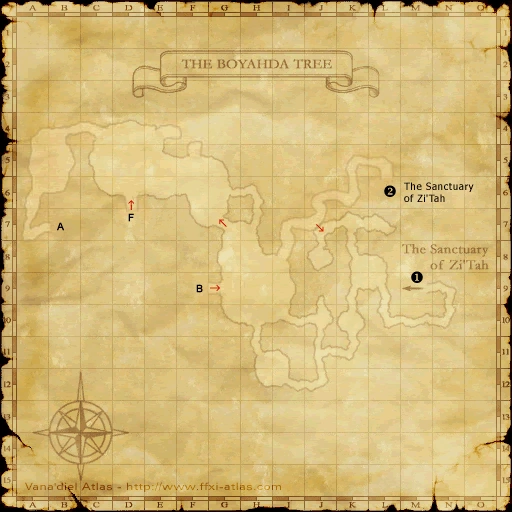
| 70+ | Moss Eaters | 6 | Spiders, Crabs | The Boyahda Tree (G-10) | webs, meat, shells | Moss Eaters max out at level 66. So why come here? And why wait til 70? A max lvl rabbit will beat any spider or crab solo w/o your help, so it's worth it to convert and keep them at 66. The 68 mandies are decent too, but get intimidated which can be annoying. But the real reason is Aquarius is often an easy camp for 30-40K gil per kill. |
| 71+ | Torama | 22 | Goblins, Mantas | Labyrinth of Onzozo | skins, ingots, armor pieces |
|
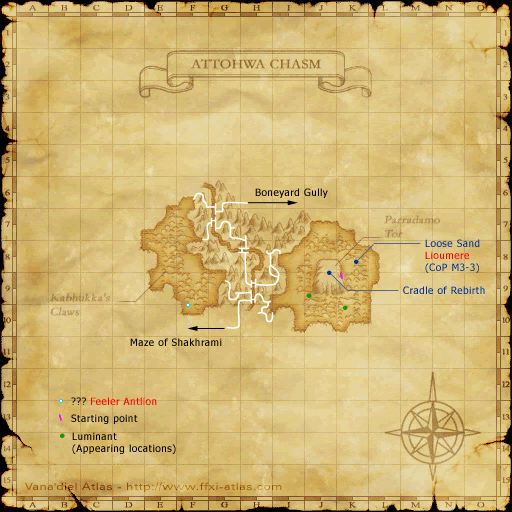
| 71+ | Tracker Antlion | 15 | Tulwar Scorpions | Attohwa Chasm | claws, shells |
|
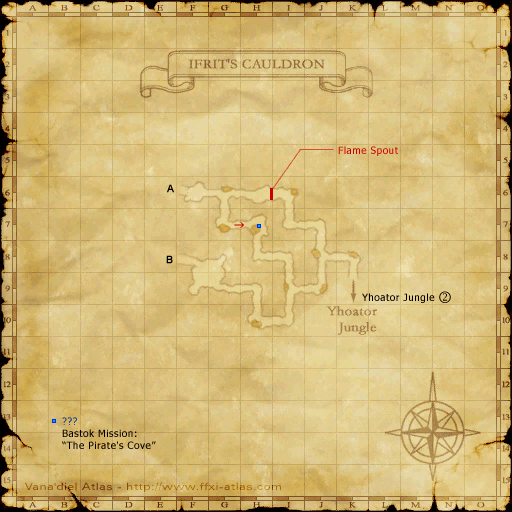
| 71+ | Sulfur Scorpion | 11 | hecteyes, bombs | Ifrit's Cauldron | bomb arms/ash, Damp Hakutaku Eye |
|
| LV | mob name | prey | zone name (pos | drops | notes |
Some additional notes:
- Re: Starting Level
Most of the starting levels listed are 1-3 levels below the max level of the main pet you'll want in that area. Yes, this means you can and should be charming Ts if that's what is available, rather than spending time trying to convert to EM (no Leave anyway until 70). With Horizon's Rebase, this is harder now. Mobs are noticeably (and imo rightfully) more difficult to charm. If you have standard Charm equipment and are prepared for the occasional mischarm, this shouldn't be a big problem. You can play to your job's strengths. On NIN or THF, maybe that's your shadows and/or evasion. On BLM or RDM, maybe you can cast Sleep on your target as your pet is about to die/uncharm. On WHM, maybe you're cure bombing yourself while you wait for Charm cooldown (with RR up ofc) Maybe you'll have to decide between keeping TP or sacrificing it to Charm with Light/Apollo's staff, etc.
- Re: Level Gap
The greater the difference between your pet and your prey, the better. So most of the info here highlights spots with pets that greatly overpower the local prey. Because of the current [XP distribution curve] and its increased weight on EP point value, you will get about the same or more XP compared to doing EM vs. EM/T. And you'll get more drops as well, thanks to killing a larger number of targets in the same amount of time. I've heard that EM vs. DC/high EP is the sweet spot, but this has not been the case for either XP or drops in my experience.
- Re: Drops vs. XP
The listed camps have a greater focus on drops in general, since the difference between 2k vs. 4k/hr is not so significant in my opinion. If you were really interested in XP, you'd just start/join a burn party to churn 10K/hr+. Better to think of soloing as farming with a bit of XP on the side. For that reason, I tend to pass on targets/camps with bad drops, even if the level gap is good.

