Template:Location: Difference between revisions
From HorizonXI Wiki
mNo edit summary |
added pos 2, pos 3 and pos 4 parameters to define multiple overlays in one tooltip |
||
| Line 11: | Line 11: | ||
Location Tooltip template | Location Tooltip template | ||
-->({{#switch:{{lc:{{{map link|}}}}}|none = {{{2}}}|#default = {{Location Tooltip|id={{{id|}}}|area={{{1}}}|pos={{{2}}}|map={{{map|}}}|exact pos x={{{exact pos x|}}}|exact pos y={{{exact pos y|}}}}}}})<!-- | -->({{#switch:{{lc:{{{map link|}}}}}|none = {{{2}}}|#default = {{Location Tooltip|id={{{id|}}}|area={{{1}}}|pos={{{2}}}|pos 2={{{pos 2|}}}|pos 3={{{pos 3|}}}|pos 4={{{pos 4|}}}|map={{{map|}}}|marker pos x={{{exact pos x|}}}|marker pos y={{{exact pos y|}}}|marker pos 2 x={{{exact pos 2 x|}}}|marker pos 2 y={{{exact pos 2 y|}}}|marker pos 3 x={{{exact pos 3 x|}}}|marker pos 3 y={{{exact pos 3 y|}}}|marker pos 4 x={{{exact pos 4 x|}}}|marker pos 4 y={{{exact pos 4 y|}}}}}}})<!-- | ||
-->}}<!-- | -->}}<!-- | ||
| Line 26: | Line 26: | ||
*'''area:''' The [[:Category:Areas|area]] to link to. | *'''area:''' The [[:Category:Areas|area]] to link to. | ||
*'''position:''' The position on the map. | *'''position:''' The position on the map. | ||
**Optional: additional parameters '''pos 2''', '''pos 3''' and '''pos 4''' can be used to mark multiple positions. | |||
*'''note:''' Optional. A note about the location, such as landmarks that it is near. | *'''note:''' Optional. A note about the location, such as landmarks that it is near. | ||
*'''map:''' Optional. The map that the location appears on. | *'''map:''' Optional. The map that the location appears on. | ||
| Line 31: | Line 32: | ||
*'''map link:''' Optional. A link to the map that the location appears on or "none" to remove the automatic link. | *'''map link:''' Optional. A link to the map that the location appears on or "none" to remove the automatic link. | ||
*'''exact pos x:''' Optional. The exact x position within the quadrant. | *'''exact pos x:''' Optional. The exact x position within the quadrant. | ||
**'''exact pos 2 x:''', '''exact pos 3 x:''' and '''exact pos 4 x:''' can be used to mark multiple positions. | |||
*'''exact pos y:''' Optional. The exact y position within the quadrant. | *'''exact pos y:''' Optional. The exact y position within the quadrant. | ||
**'''exact pos 2 y:''', '''exact pos 3 y:''' and '''exact pos 4 y:''' can be used to mark multiple positions. | |||
==Examples== | ==Examples== | ||
{| class="ffxi-table" border="1" | {| class="ffxi-table" border="1" | ||
| Line 53: | Line 56: | ||
| <pre>{{Location|Bastok Markets|F-10|exact pos x=10|exact pos y=8}}</pre> | | <pre>{{Location|Bastok Markets|F-10|exact pos x=10|exact pos y=8}}</pre> | ||
| {{Location|Bastok Markets|F-10|exact pos x=10|exact pos y=8}} | | {{Location|Bastok Markets|F-10|exact pos x=10|exact pos y=8}} | ||
|- | |||
| <pre>{{Location|Bastok Markets|F-10|exact pos x=10|exact pos y=8|pos 2=G-9|exact pos 2 x=0|exact pos 2 y = 0}}</pre> | |||
| {{Location|Bastok Markets|F-10|exact pos x=10|exact pos y=8|pos 2=G-9|exact pos 2 x=0|exact pos 2 y = 0}} | |||
|- | |||
| <pre>{{Location|Northern San d'Oria|C-8|pos 2=C-9}}</pre> | |||
| {{Location|Northern San d'Oria|C-8|pos 2=C-9}} | |||
|} | |} | ||
Exact position coordinates place a red pixel graphic at the coordinates in the tooltip. The alignment is to the top left of a transparent gif and not the center of it. | Exact position coordinates place a red pixel graphic at the coordinates in the tooltip. The alignment is to the top left of a transparent gif and not the center of it. | ||
Revision as of 20:07, 21 April 2024
Usage
{{Location|<area>|<position>|<note>|map=<map>|map link=<map link>}}
Provides a link to the map of a specified area map. Supports coordinates and areas with multiple maps. Notes appear on a new line in italics. Implemented using Template:Location Tooltip.
- area: The area to link to.
- position: The position on the map.
- Optional: additional parameters pos 2, pos 3 and pos 4 can be used to mark multiple positions.
- note: Optional. A note about the location, such as landmarks that it is near.
- map: Optional. The map that the location appears on.
- id: Optional. A unique id to give to the tooltip. Use if the same location (area and position) is repeated on the same page.
- map link: Optional. A link to the map that the location appears on or "none" to remove the automatic link.
- exact pos x: Optional. The exact x position within the quadrant.
- exact pos 2 x:, exact pos 3 x: and exact pos 4 x: can be used to mark multiple positions.
- exact pos y: Optional. The exact y position within the quadrant.
- exact pos 2 y:, exact pos 3 y: and exact pos 4 y: can be used to mark multiple positions.
Examples
| Code | Result |
|---|---|
{{Location|Northern San d'Oria|C-8}}
|
Northern San d'Oria (C-8) |
{{Location|Valkurm Dunes|H-7|Next to the outpost.}}
|
Valkurm Dunes (H-7)
|
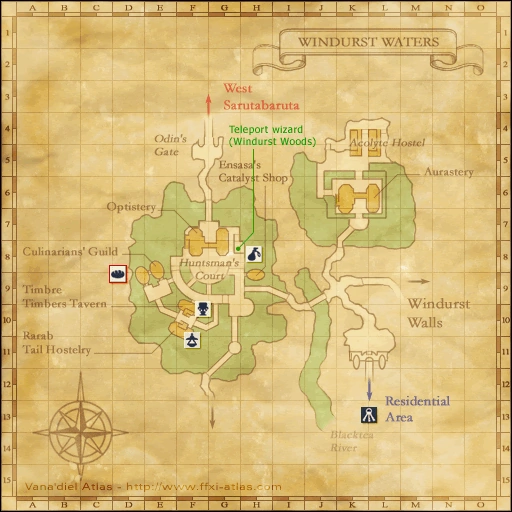
{{Location|Windurst Waters|map=North|K-6}}
|
Windurst Waters, North (K-6) |
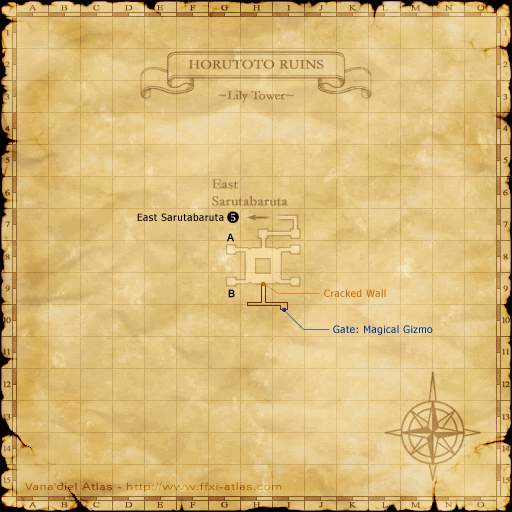
{{Location|Inner Horutoto Ruins|map=Lily Tower|map link=Lily Tower|I-9}}
|
Inner Horutoto Ruins, Lily Tower (I-9) |
{{Location|Ifrit's Cauldron|map=Map 5|map link=none|F-8}}
|
Ifrit's Cauldron, Map 5 (F-8) |
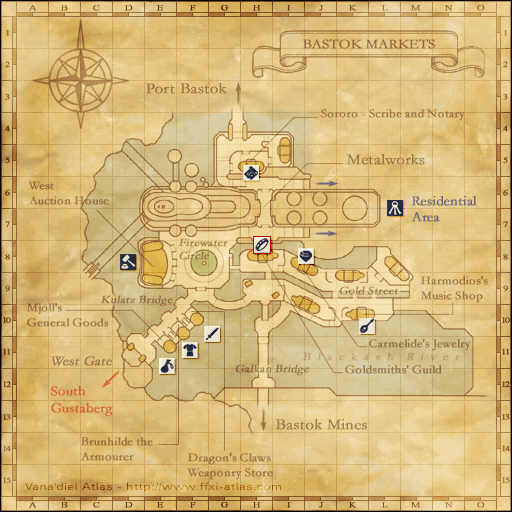
{{Location|Bastok Markets|F-10|exact pos x=10|exact pos y=8}}
|
Bastok Markets (F-10) |
{{Location|Bastok Markets|F-10|exact pos x=10|exact pos y=8|pos 2=G-9|exact pos 2 x=0|exact pos 2 y = 0}}
|
Bastok Markets (F-10 / G-9) |
{{Location|Northern San d'Oria|C-8|pos 2=C-9}}
|
Northern San d'Oria (C-8 / C-9) |
Exact position coordinates place a red pixel graphic at the coordinates in the tooltip. The alignment is to the top left of a transparent gif and not the center of it.


