Scattered into Shadow: Difference between revisions
From HorizonXI Wiki
| (One intermediate revision by one other user not shown) | |||
| Line 19: | Line 19: | ||
==Walkthrough== | ==Walkthrough== | ||
''Note: Some form of [[Sneak (Status Effect)]] is highly recommended: The area is populated by level 40-49 monsters on the upper level and 50-59 monsters on the lower level, along with level ~80 monsters in the big room leading to the [[Cloister of Frost]].'' | ''Note: Some form of [[Sneak (Status Effect)]] is highly recommended: The area is populated by level 40-49 monsters on the upper level and 50-59 monsters on the lower level, along with level ~80 monsters in the big room leading to the [[Cloister of Frost]].'' | ||
===Part 1: | ===Part 1: Fei'Yin=== | ||
*Talk to [[Brutus]] in [[Upper Jeuno]] who will give you three {{KeyItem}}[[Aquaflora]]s to put in some ''Underground Pools'' in [[Fei'Yin]]. | *Talk to [[Brutus]] in [[Upper Jeuno]] who will give you three {{KeyItem}}[[Aquaflora]]s to put in some ''Underground Pools'' in [[Fei'Yin]]. | ||
*Travel to [[Fei'Yin]]. The entrance is located at {{Location|Beaucedine Glacier|J-4}}. | *Travel to [[Fei'Yin]]. The entrance is located at {{Location|Beaucedine Glacier|J-4}}. | ||
| Line 29: | Line 29: | ||
*Once you inspected all 3 of the ''Underground Pools'', head back to [[Upper Jeuno]]. | *Once you inspected all 3 of the ''Underground Pools'', head back to [[Upper Jeuno]]. | ||
*Talk to [[Brutus]] and he will send you to [[Castle Oztroja]] next. (''This step is important, otherwise the [[Treasure Chest]] in [[Castle Oztroja]] will not yield the [[Beast Collar]].'') | *Talk to [[Brutus]] and he will send you to [[Castle Oztroja]] next. (''This step is important, otherwise the [[Treasure Chest]] in [[Castle Oztroja]] will not yield the [[Beast Collar]].'') | ||
===Part 2: [[Castle Oztroja]]=== | ===Part 2: [[Castle Oztroja]]=== | ||
<div style="border: 4px lightgrey dashed; padding: 8px;"> | <div style="border: 4px lightgrey dashed; padding: 8px;"> | ||
| Line 76: | Line 77: | ||
**[[Tebhi]] can be spotted on [[Wide Scan]]. | **[[Tebhi]] can be spotted on [[Wide Scan]]. | ||
**[[Tebhi]] will disappear for 15min after receiving the [[Beast Collar]]. (Might have been bugged in the past but seems to work as intended as of 2024-01-28, see [[Talk:Scattered into Shadow#Tebhi]].) | **[[Tebhi]] will disappear for 15min after receiving the [[Beast Collar]]. (Might have been bugged in the past but seems to work as intended as of 2024-01-28, see [[Talk:Scattered into Shadow#Tebhi]].) | ||
*Head back to [[ | *Head back to [[Upper Jeuno]] and talk to [[Brutus]] one final time to receive the [[Beast Gaiters]]. | ||
Latest revision as of 14:22, 4 August 2025
| Scattered into Shadow | |
|---|---|
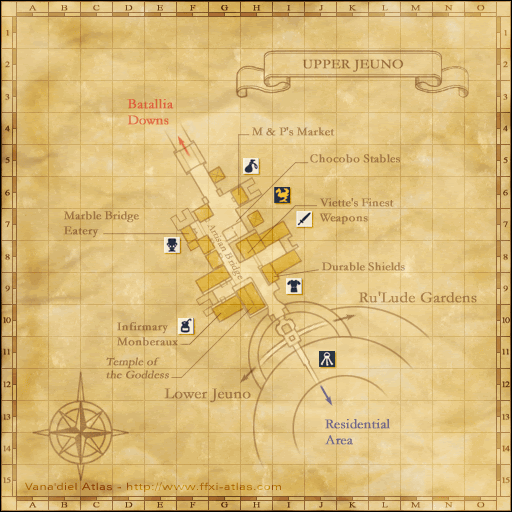
| Starting NPC | Brutus, Upper Jeuno (G-7)
|
| Required Fame | Jeuno Level 1 |
| Additional Requirements | Beastmaster 50+ |
| Title | None |
| Repeatable | Yes, after Memory reset |
| Description | Many animals conscripted during the war did not return. Brutus wants you to put their souls to rest. |
| Rewards | |
| Beast Gaiters | |
| ← Previous Quest | Next Quest → |
|---|---|
| Wings of Gold | A New Dawn Borghertz's Wild Hands |
This is the second Beastmaster Artifact Armor quest - otherwise known as AF2.
Walkthrough
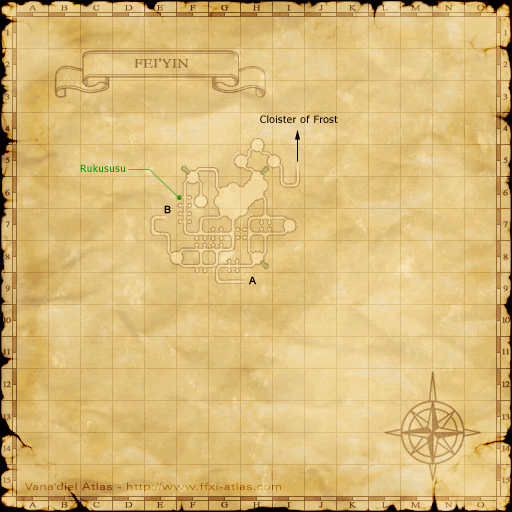
Note: Some form of Sneak (Status Effect) is highly recommended: The area is populated by level 40-49 monsters on the upper level and 50-59 monsters on the lower level, along with level ~80 monsters in the big room leading to the Cloister of Frost.
Part 1: Fei'Yin
- Talk to Brutus in Upper Jeuno who will give you three
 Aquafloras to put in some Underground Pools in Fei'Yin.
 - Travel to Fei'Yin. The entrance is located at Beaucedine Glacier (J-4).
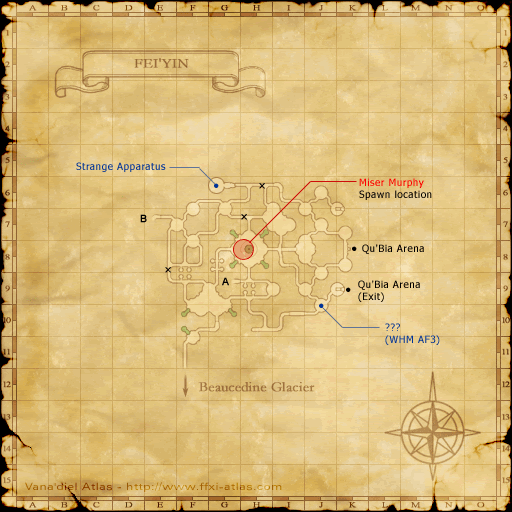
- Once in Fei'Yin, proceed to the lower level at (G-9) (Connection 'A').
- On the lower level, there are 3 pools at (H-8 / H-5 / F-5)
- When the pool at (F-5) is inspected, a Ghost NM named Dabotz's Ghost appears. He can cast Tornado and does a variety of black magic (Smash Axe can stun it).
- Dabotz's Ghost is comfortably soloable at level 60+ (see testimonials). It is advised to bring help with you if attempting at 52.
- After Dabotz's Ghost dies, inspect the pool again to watch a cutscene.
- Once you inspected all 3 of the Underground Pools, head back to Upper Jeuno.
- Talk to Brutus and he will send you to Castle Oztroja next. (This step is important, otherwise the Treasure Chest in Castle Oztroja will not yield the Beast Collar.)
Part 2: Castle Oztroja
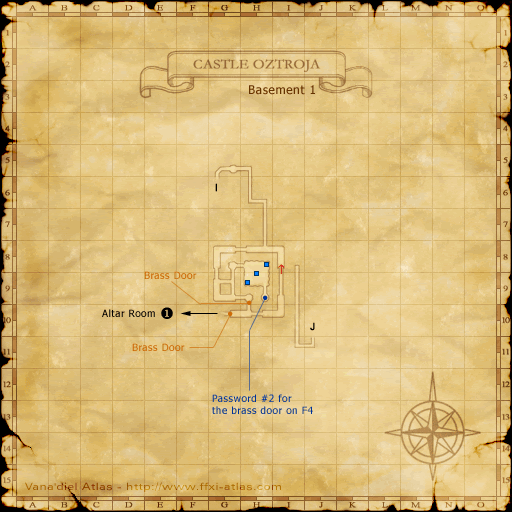
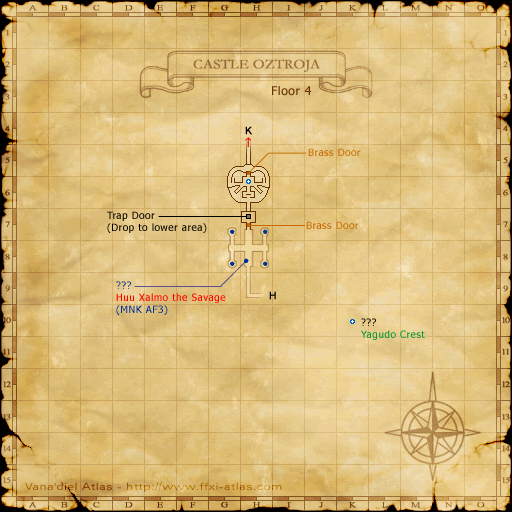
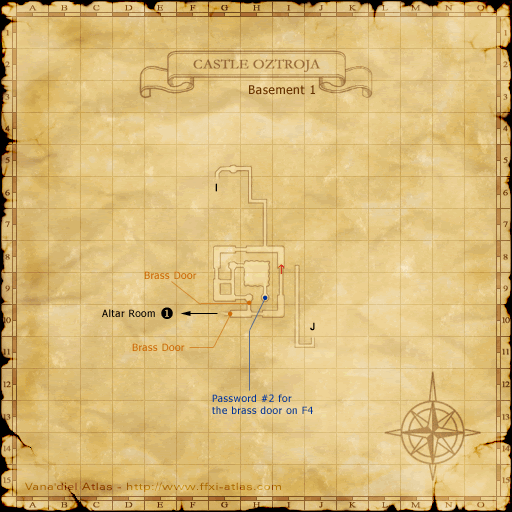
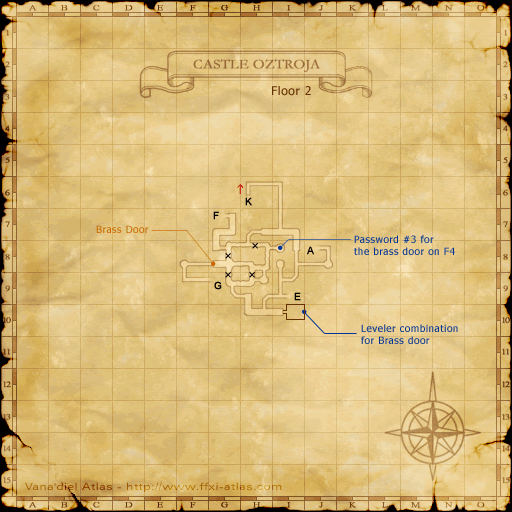
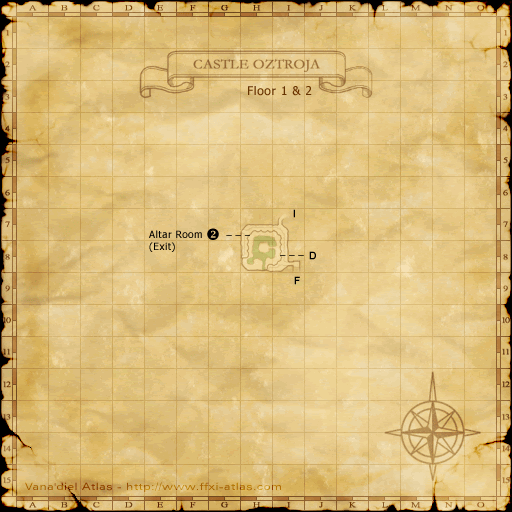
The larger map icons are where the chests can spawn. The smaller map icons are given for convenience of navigation. Hover over a map icon to display the map in a larger size.
- Travel to Castle Oztroja and obtain a Oztroja Chest Key.
- Note: Chest and Coffer Keys drop with a fixed probability of 10% on HorizonXI

- Oztroja Chest Keys drop from:
- Yagudo Conquistador (43-47)
- Yagudo Prior (45-49)
- Yagudo Zealot (42-46)
- Yagudo Lutenist (44-48)
- Yagudo Parasite (45-49)
- Ooze (38-40)
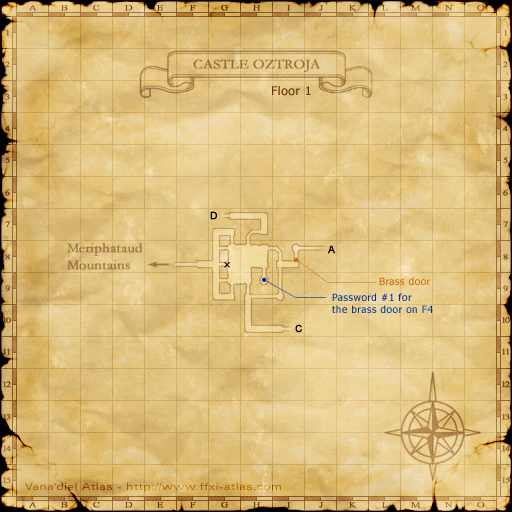
- The Basement (Map 2) has plenty of Yagudo which can drop the Oztroja Chest Key. To get there, zone to the third map at Castle Oztroja, Map 1 (J-8), then to the seventh map at Castle Oztroja, Map 3 (G-7) and finally into the basement at Castle Oztroja, Map 7 (I-7) (Connections 'A' -> 'F' -> 'I').
- Note: Chest and Coffer Keys drop with a fixed probability of 10% on HorizonXI
- Once you obtain a Oztroja Chest Key, search for a Treasure Chest and open it to obtain a Beast Collar.
- Next, locate Tebhi, a monkey NPC which roams the basement (Map 2), and trade the Beast Collar to him.
- Tebhi can be spotted on Wide Scan.
- Tebhi will disappear for 15min after receiving the Beast Collar. (Might have been bugged in the past but seems to work as intended as of 2024-01-28, see Talk:Scattered into Shadow#Tebhi.)
- Head back to Upper Jeuno and talk to Brutus one final time to receive the Beast Gaiters.
